
 Image 1 of 10
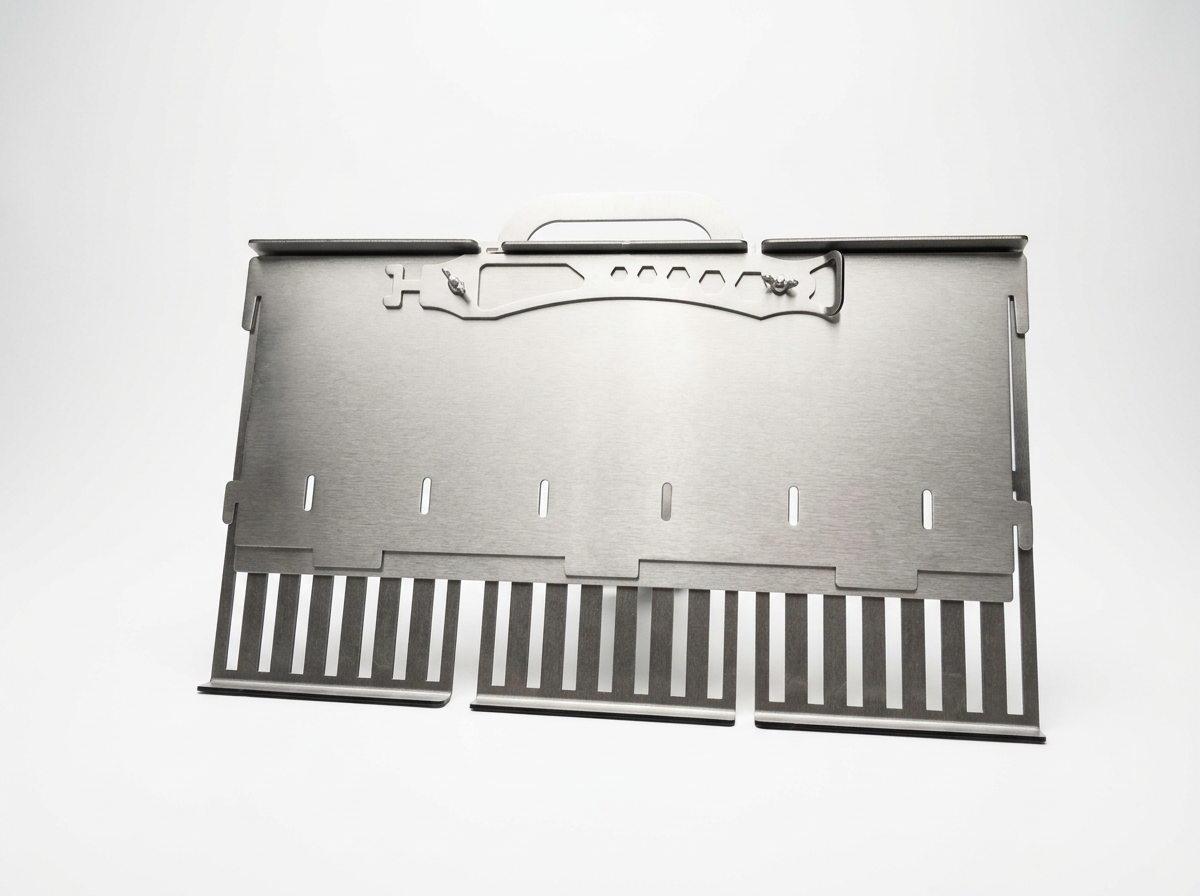 Image 2 of 10
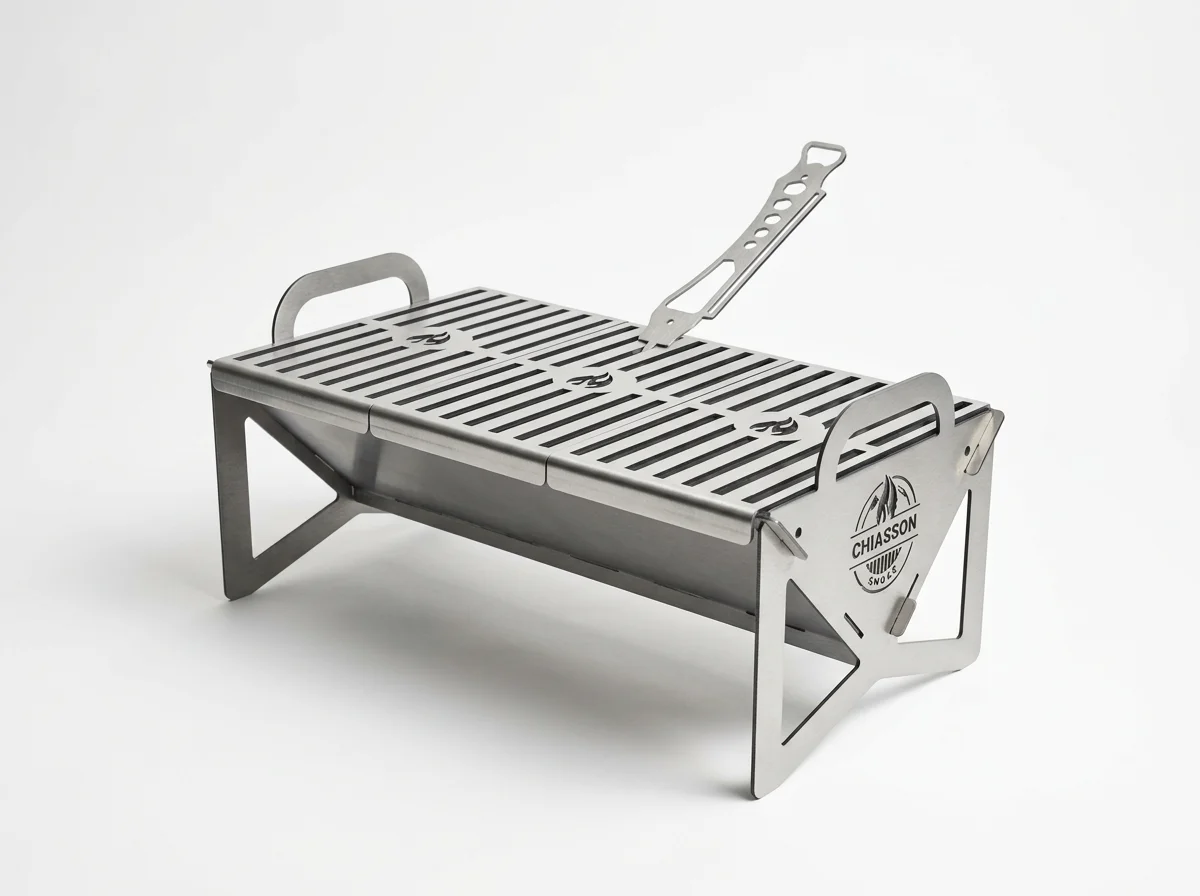 Image 3 of 10
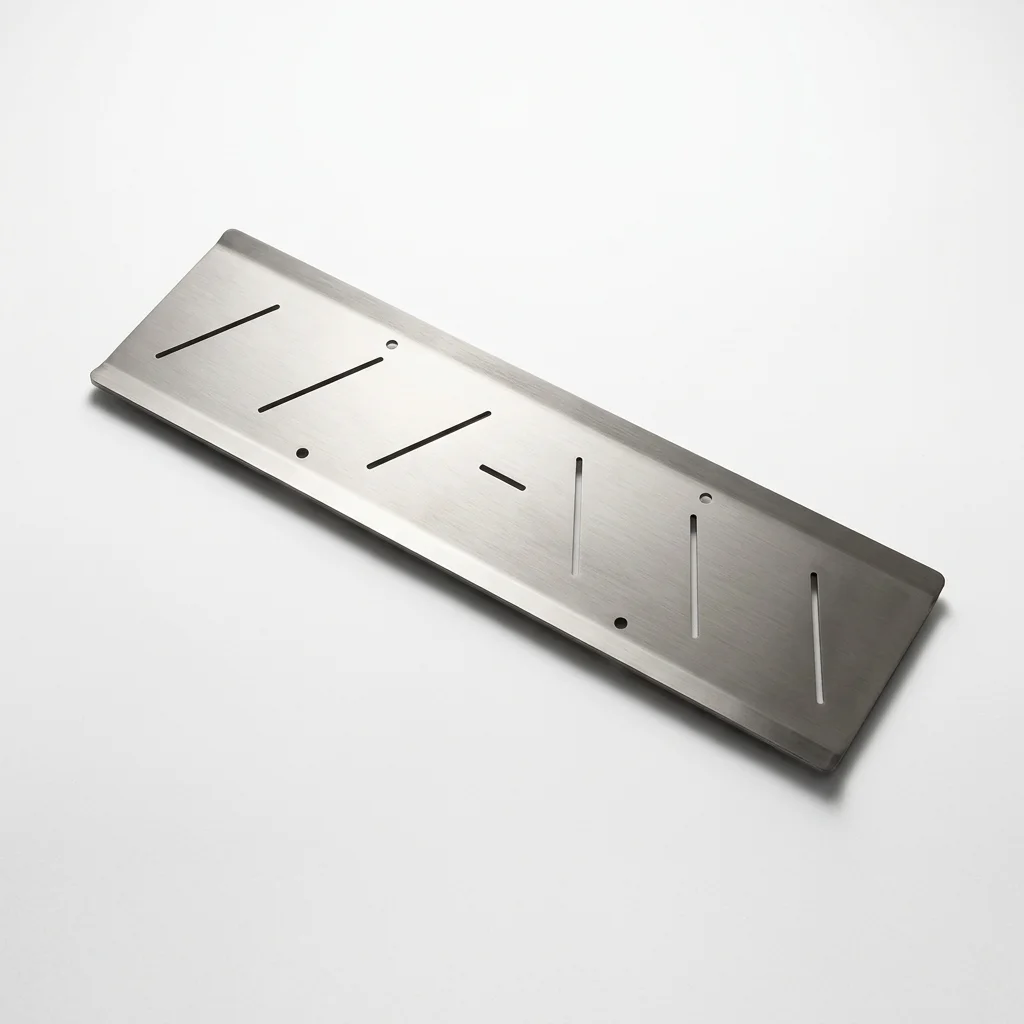 Image 4 of 10
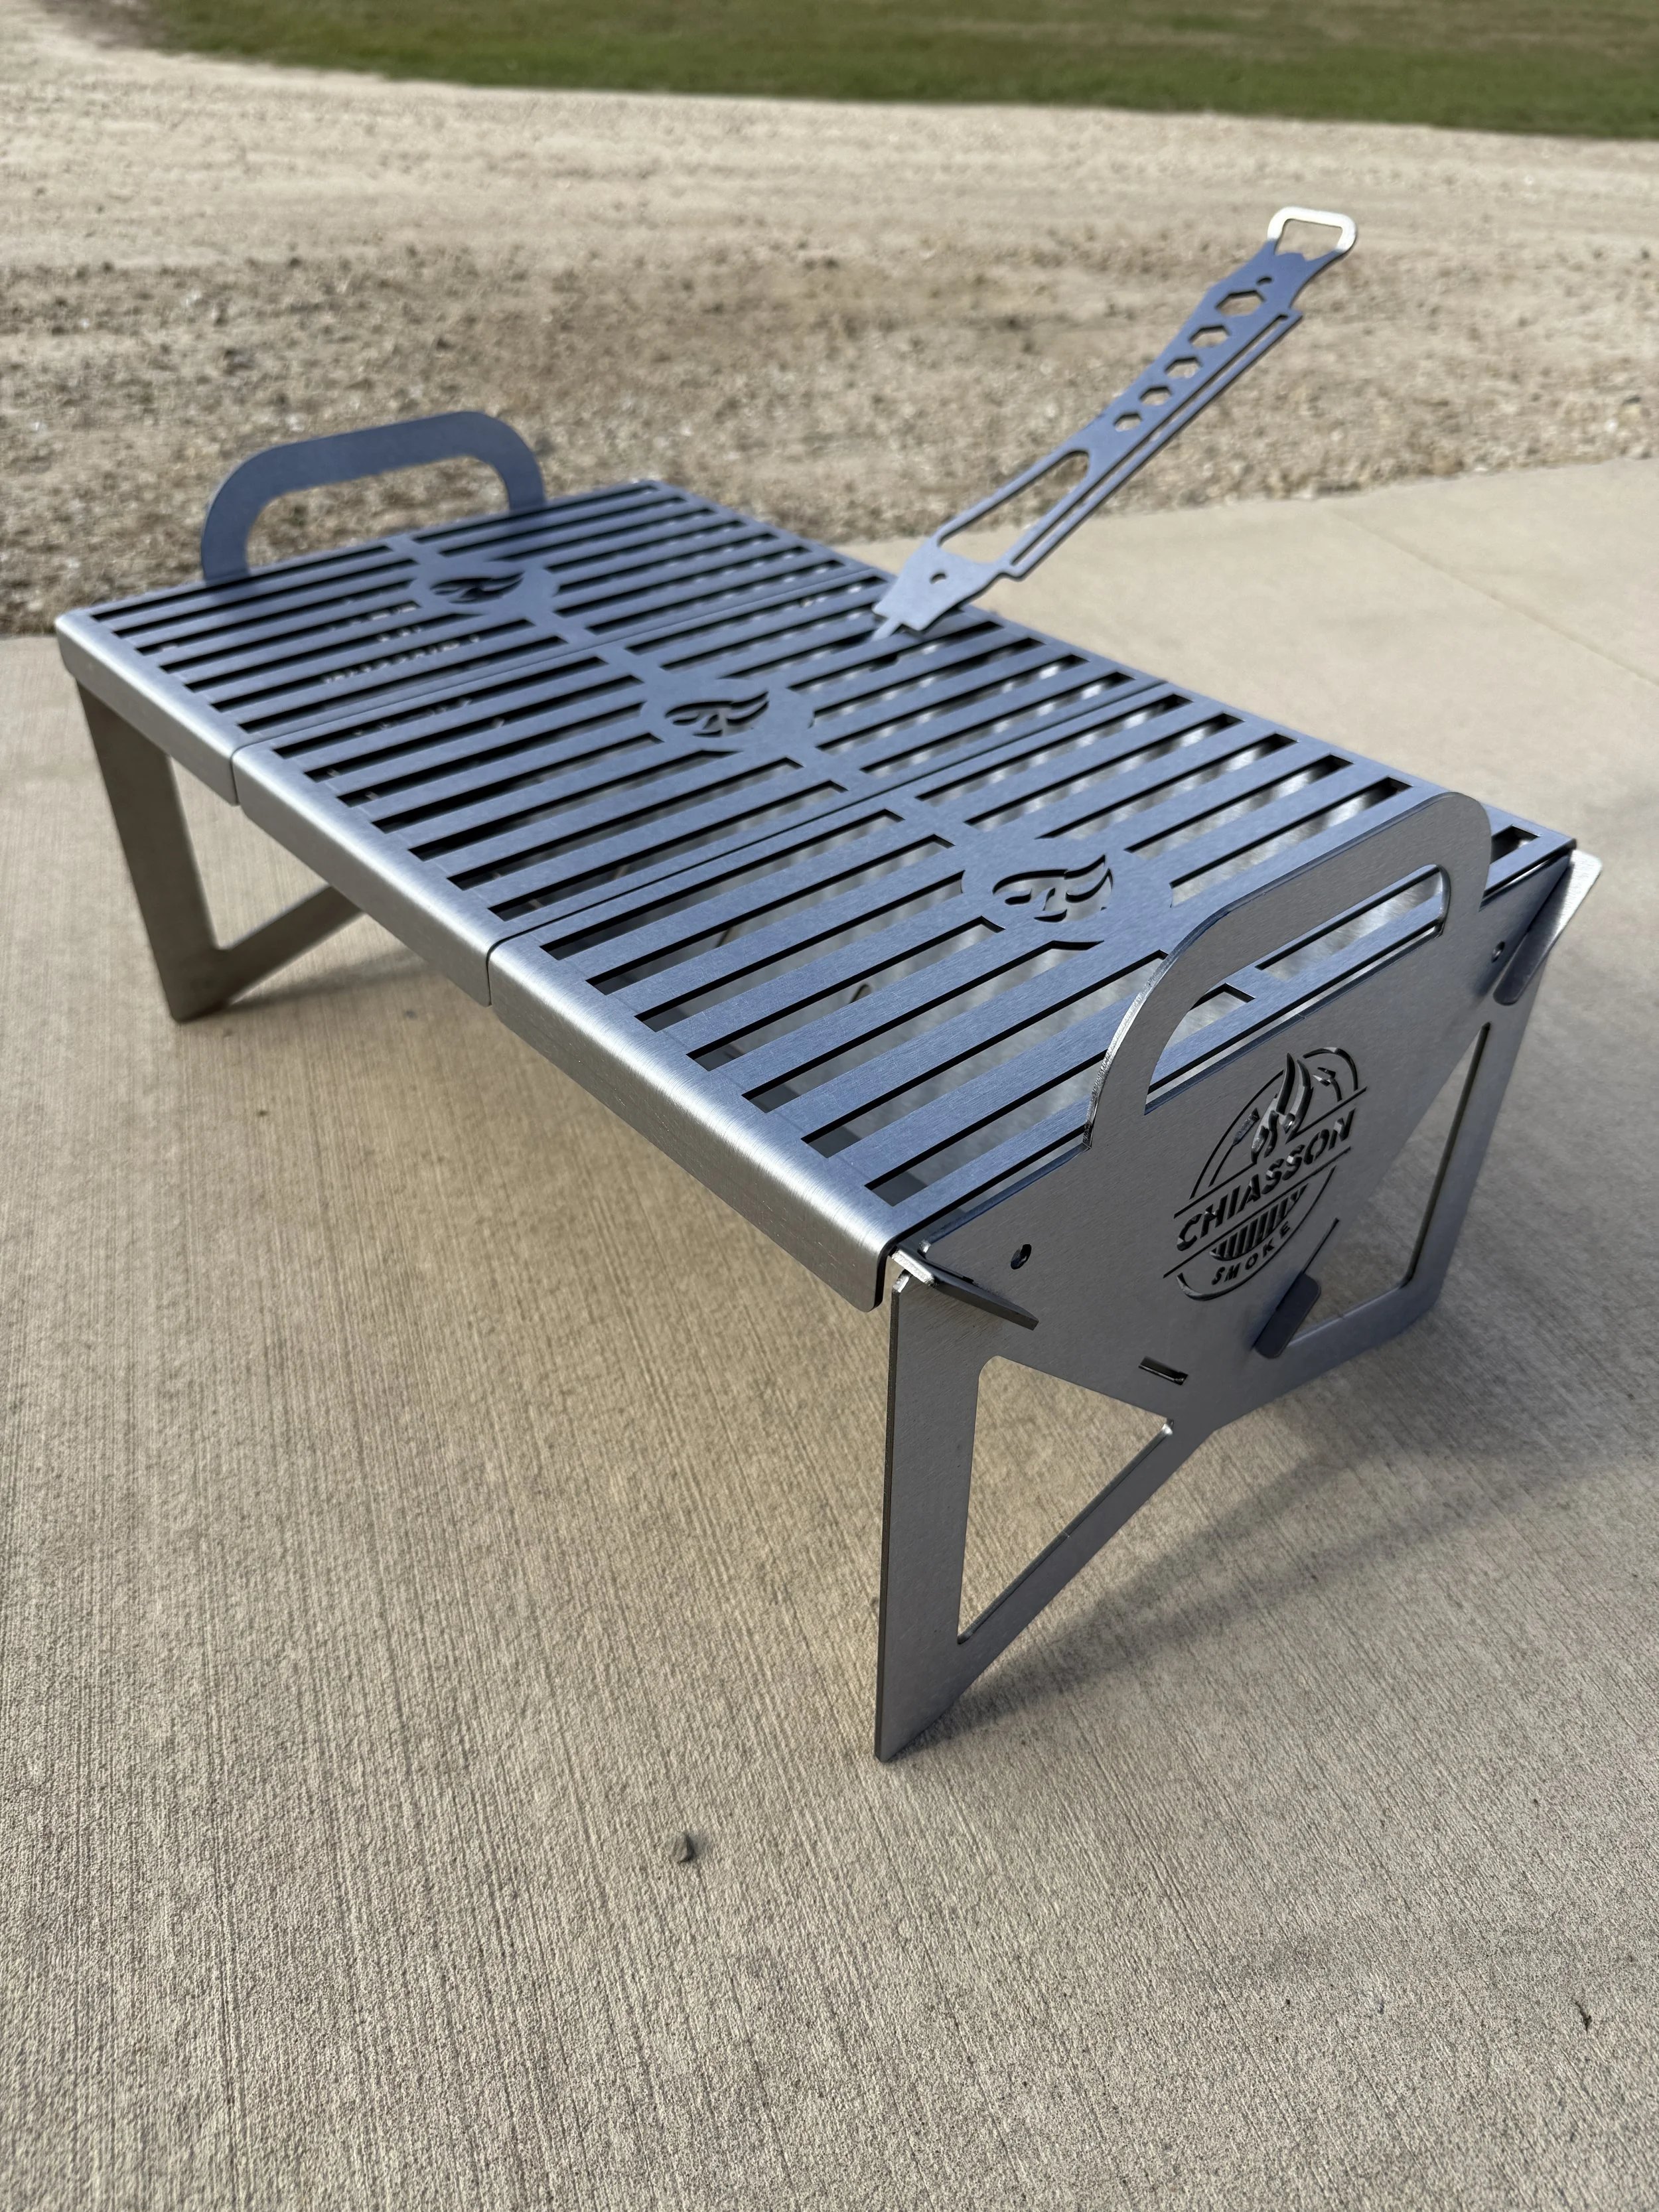 Image 5 of 10
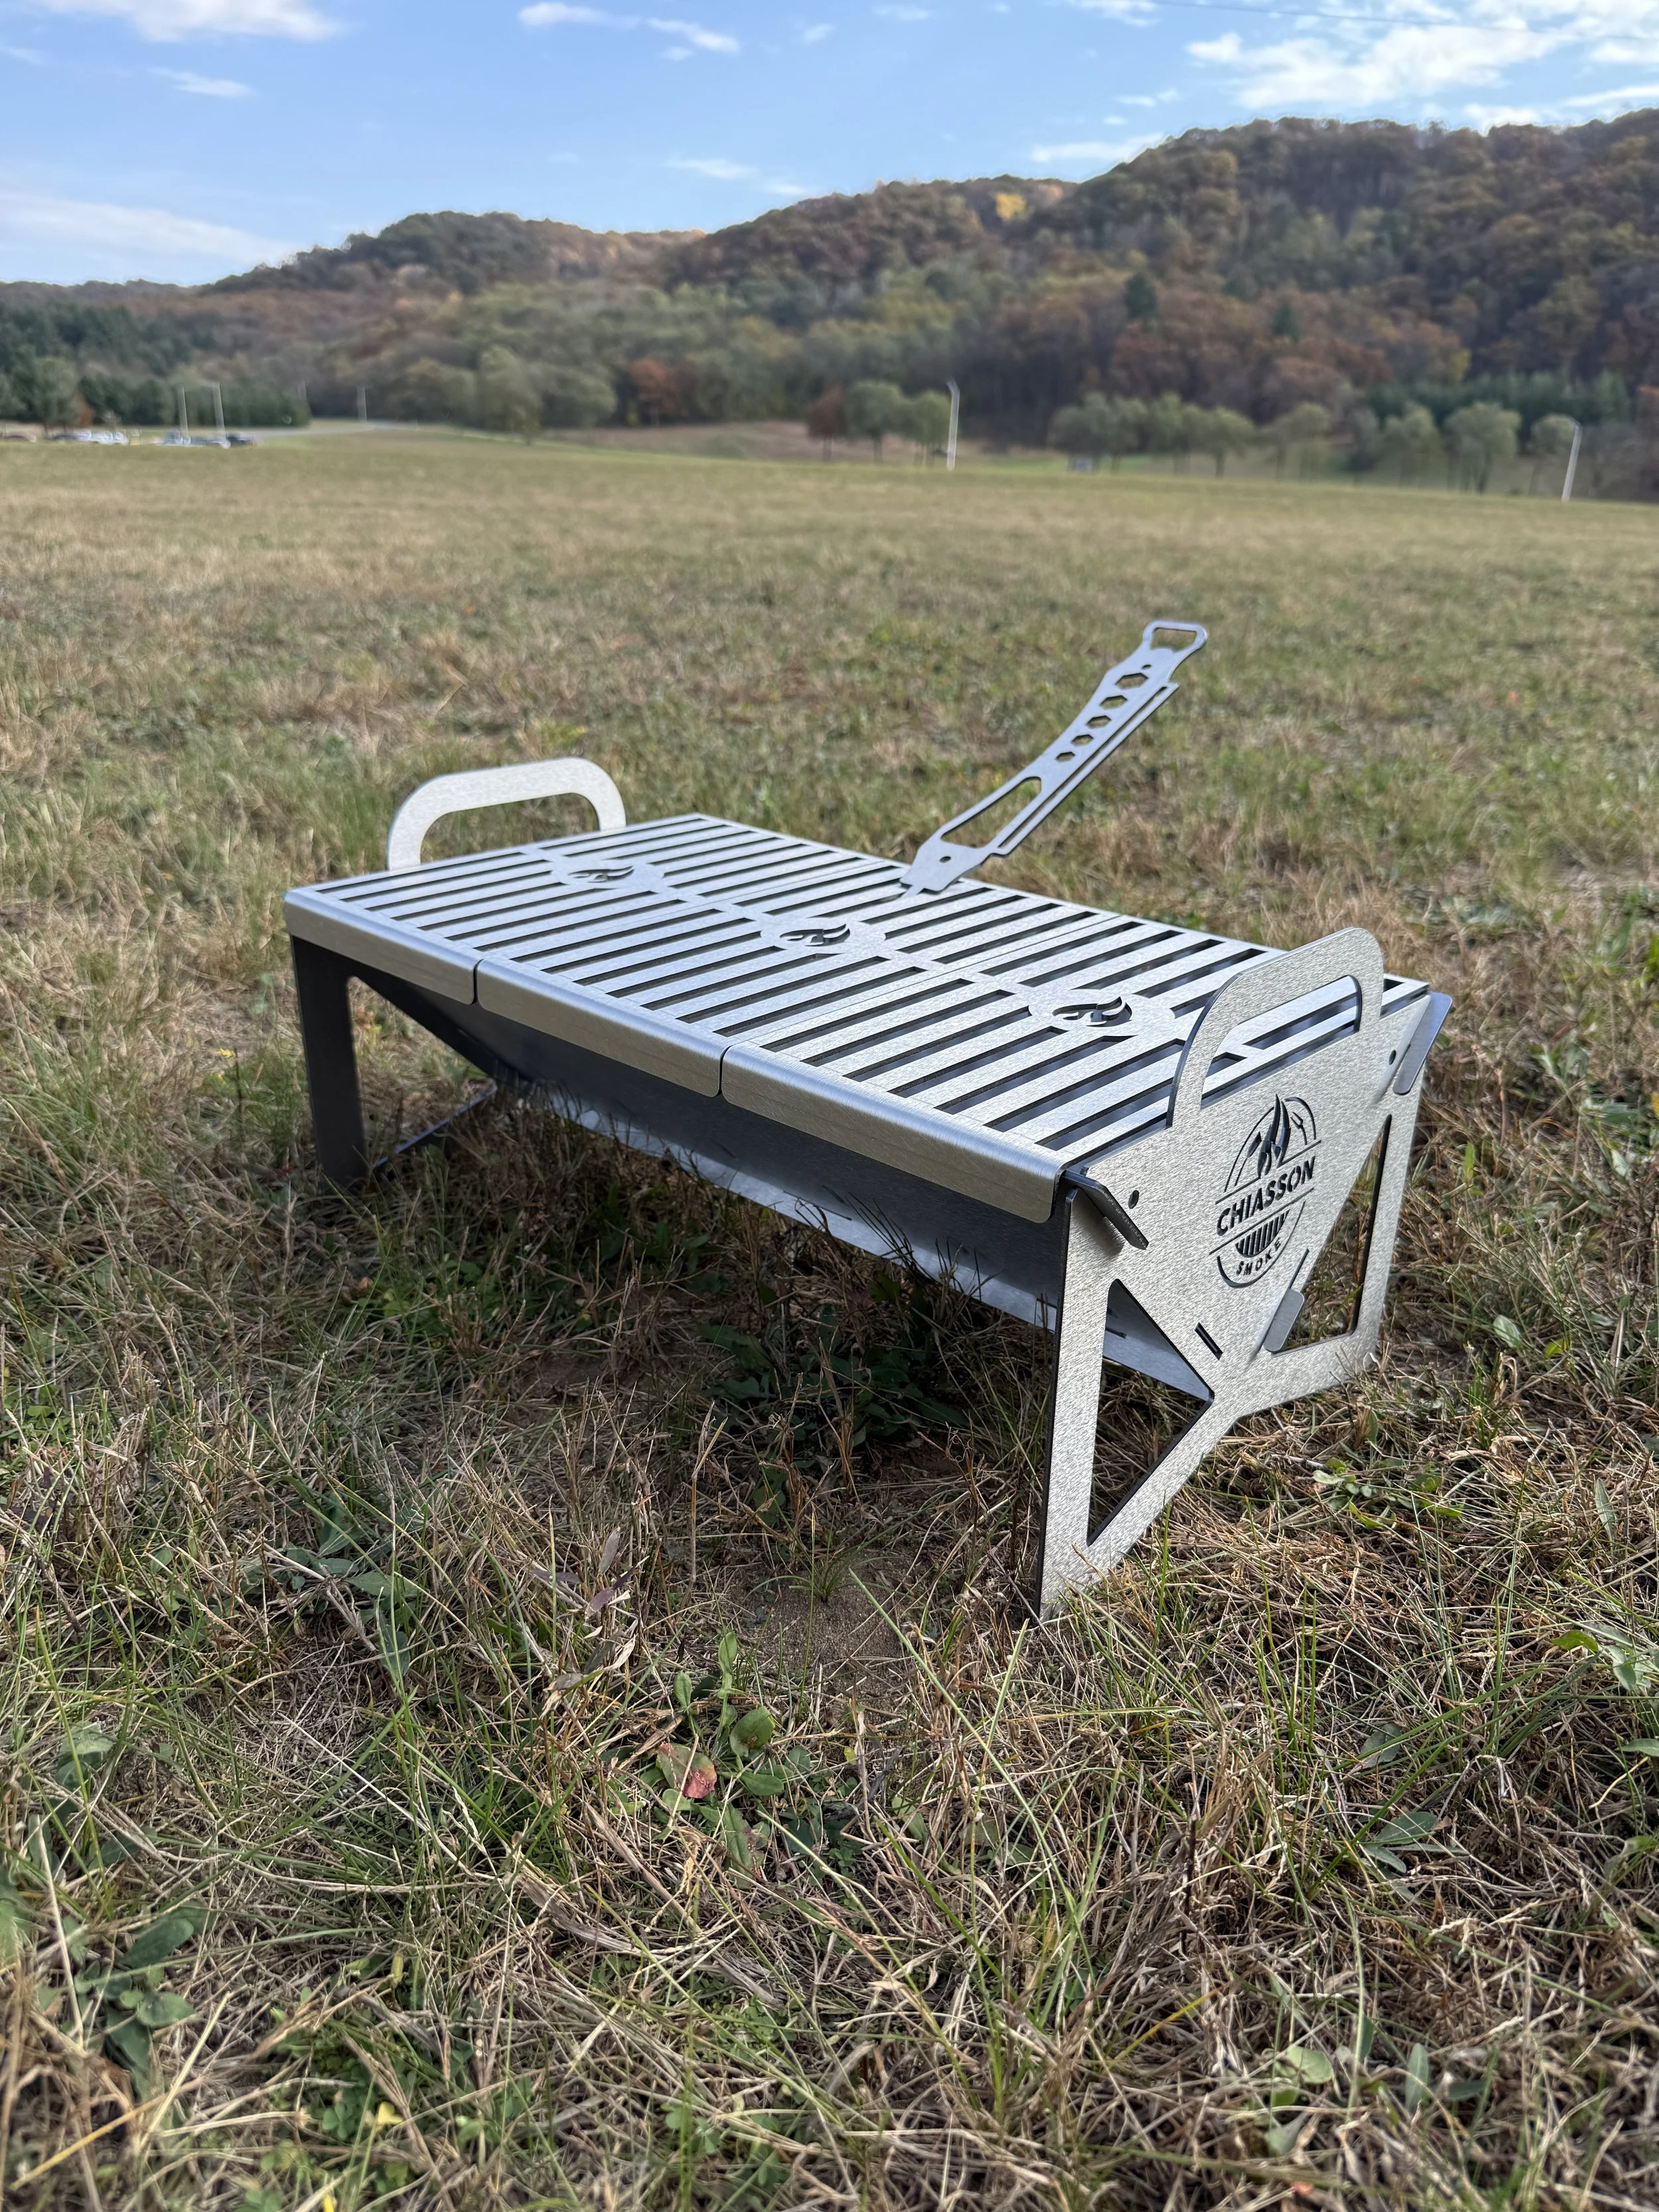 Image 6 of 10
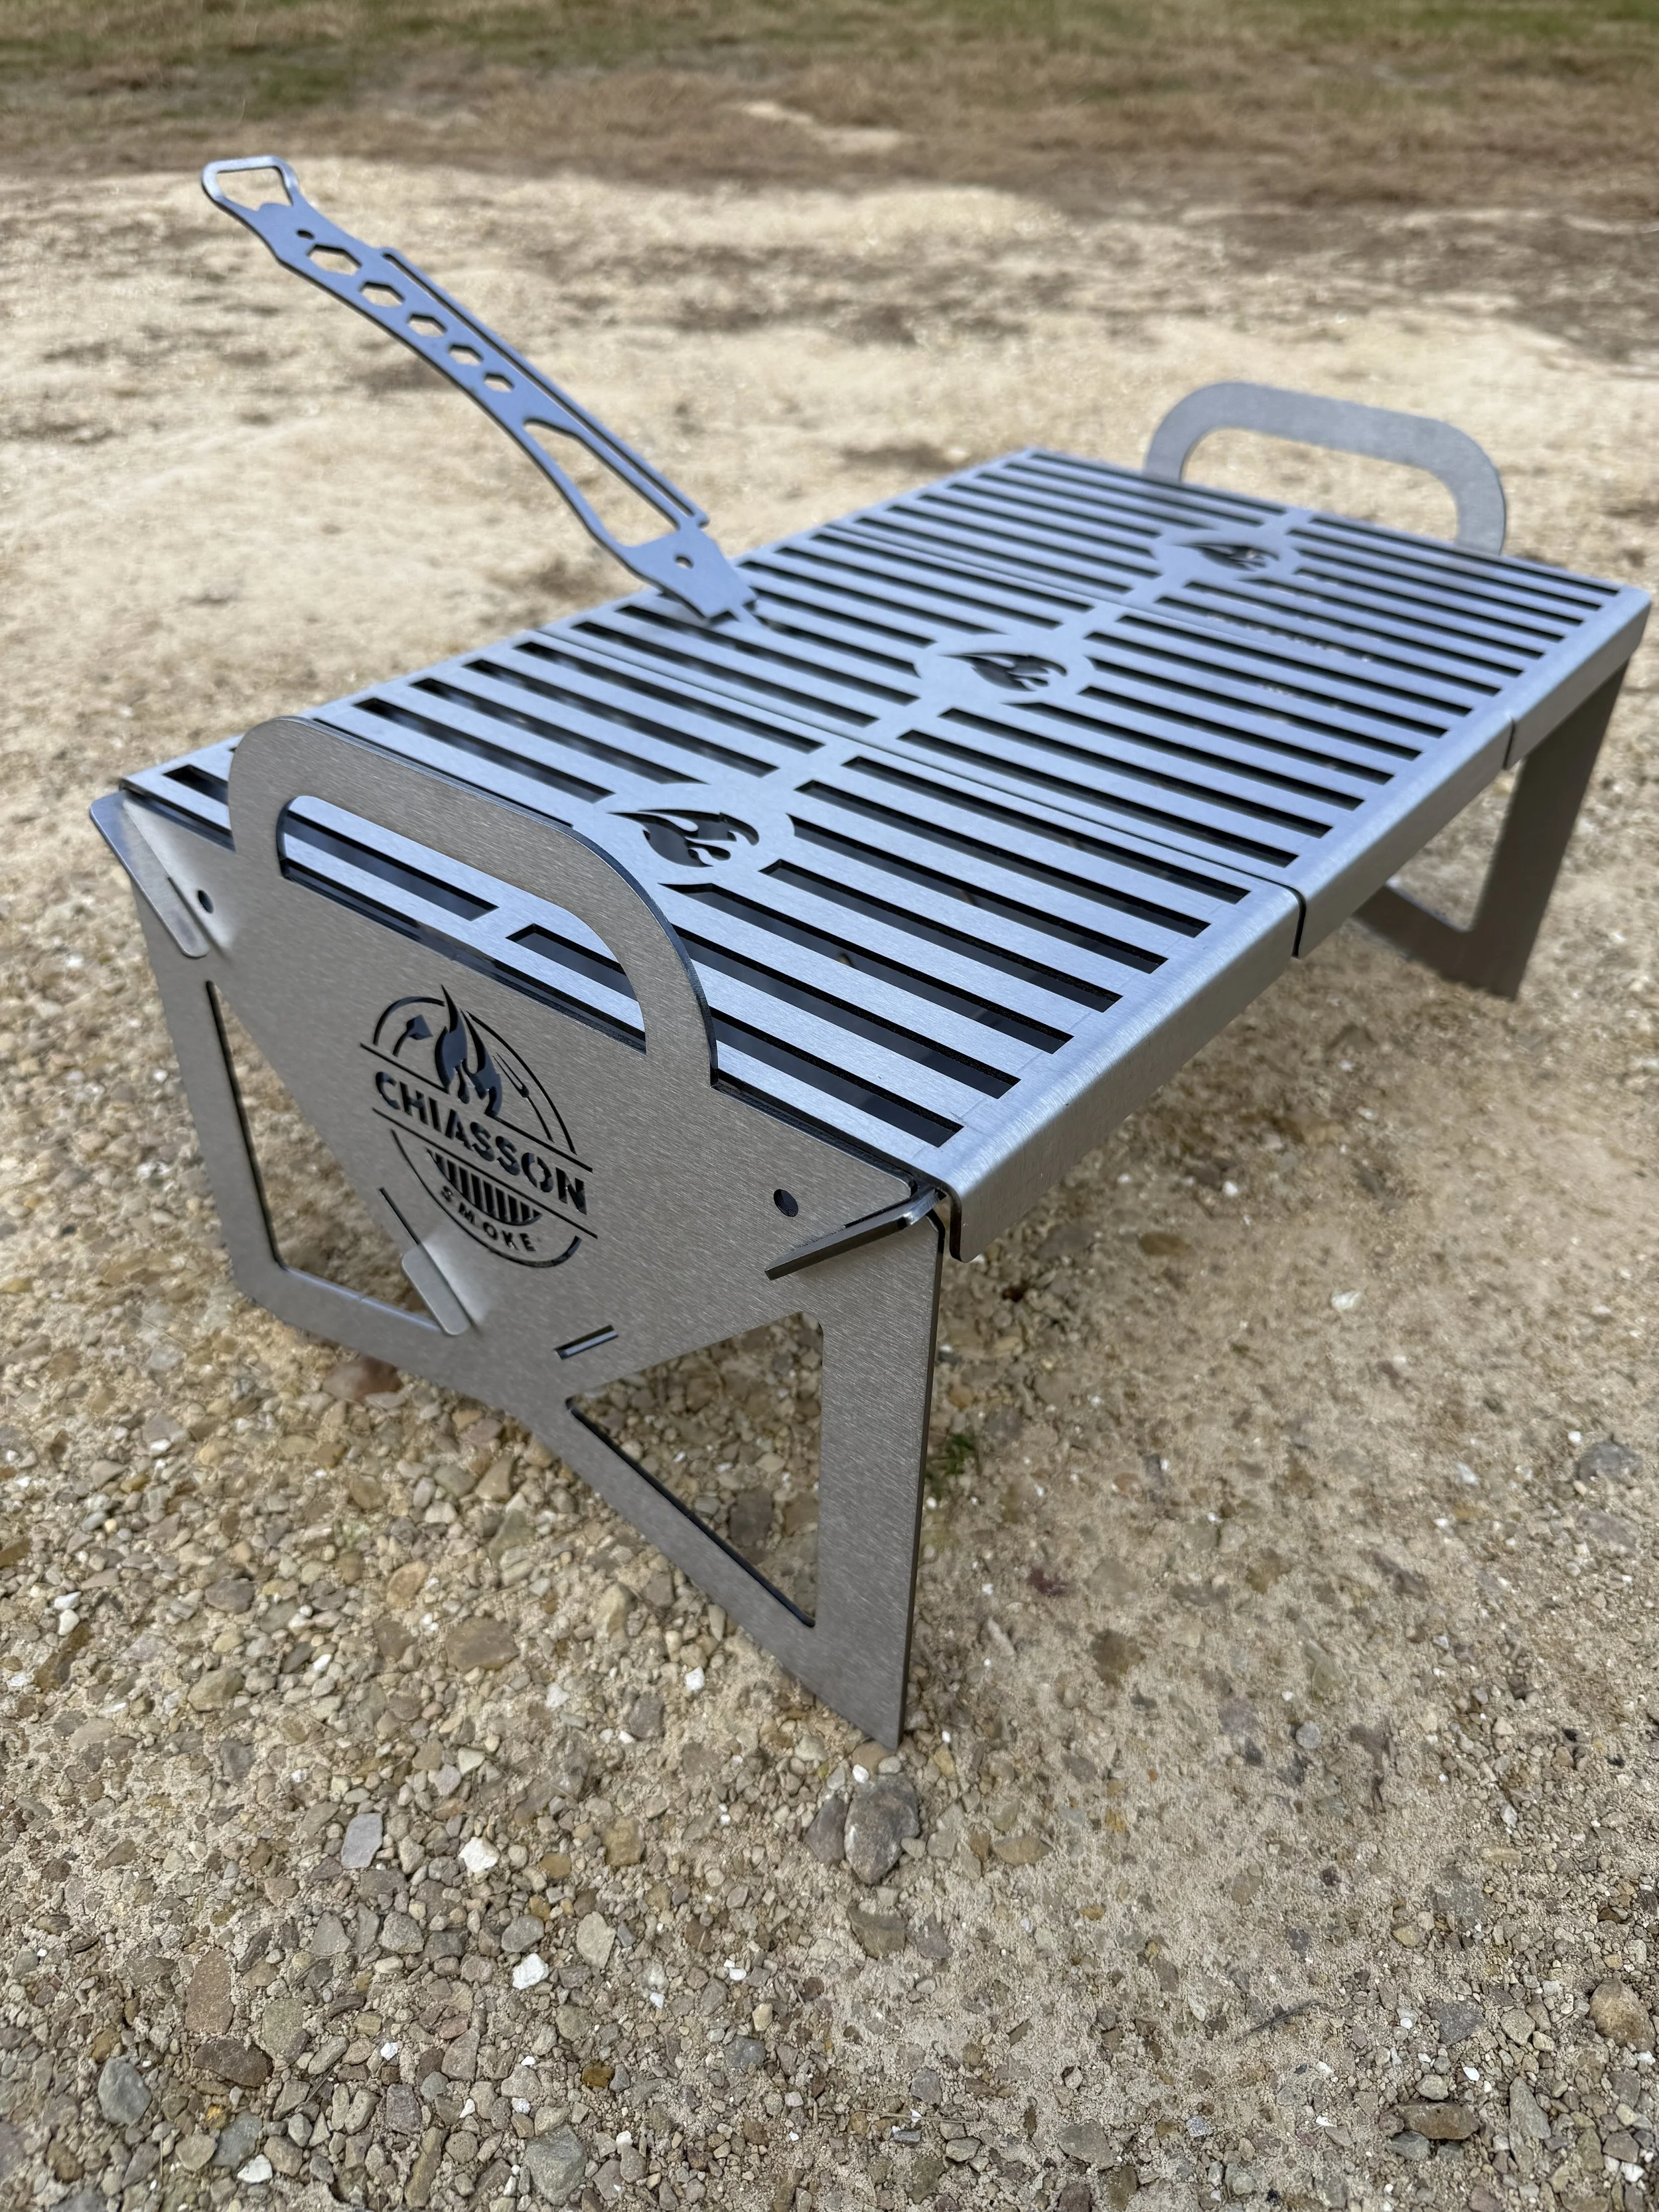 Image 7 of 10
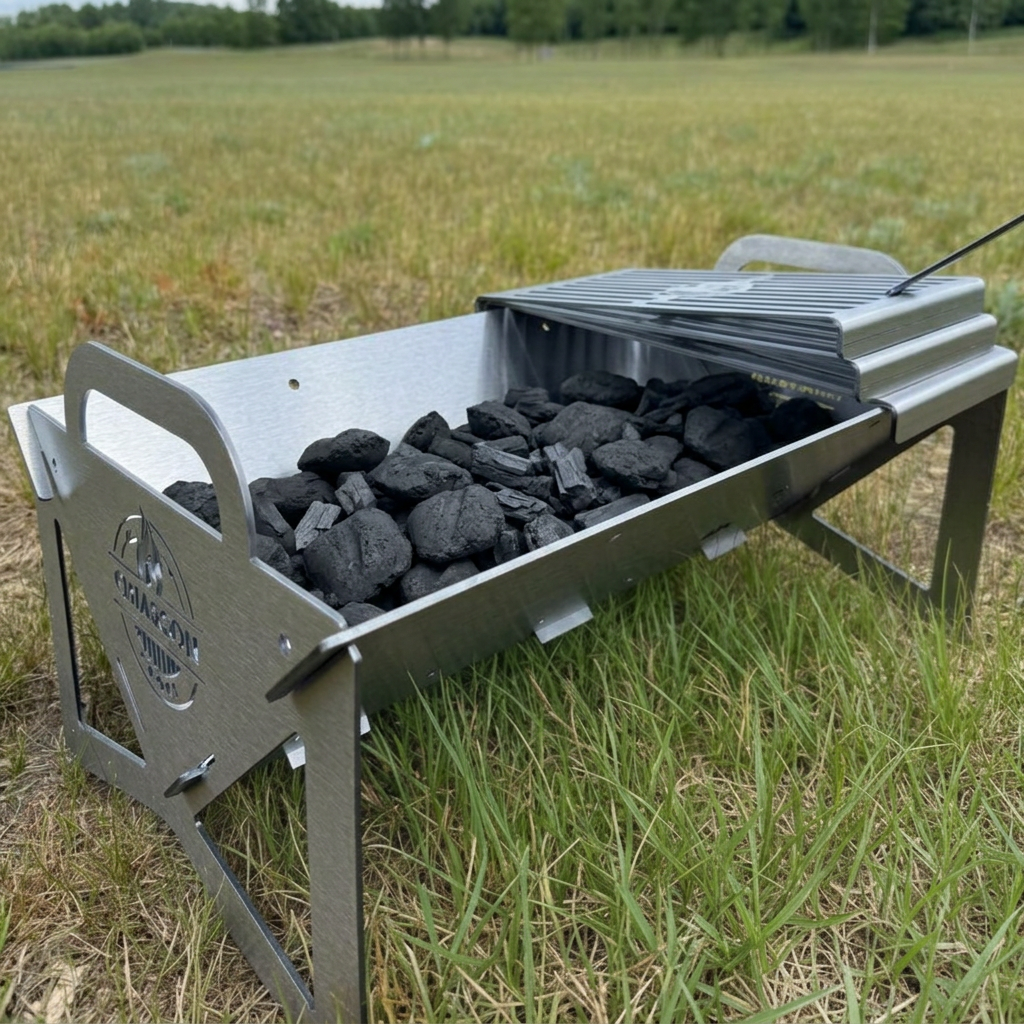 Image 8 of 10
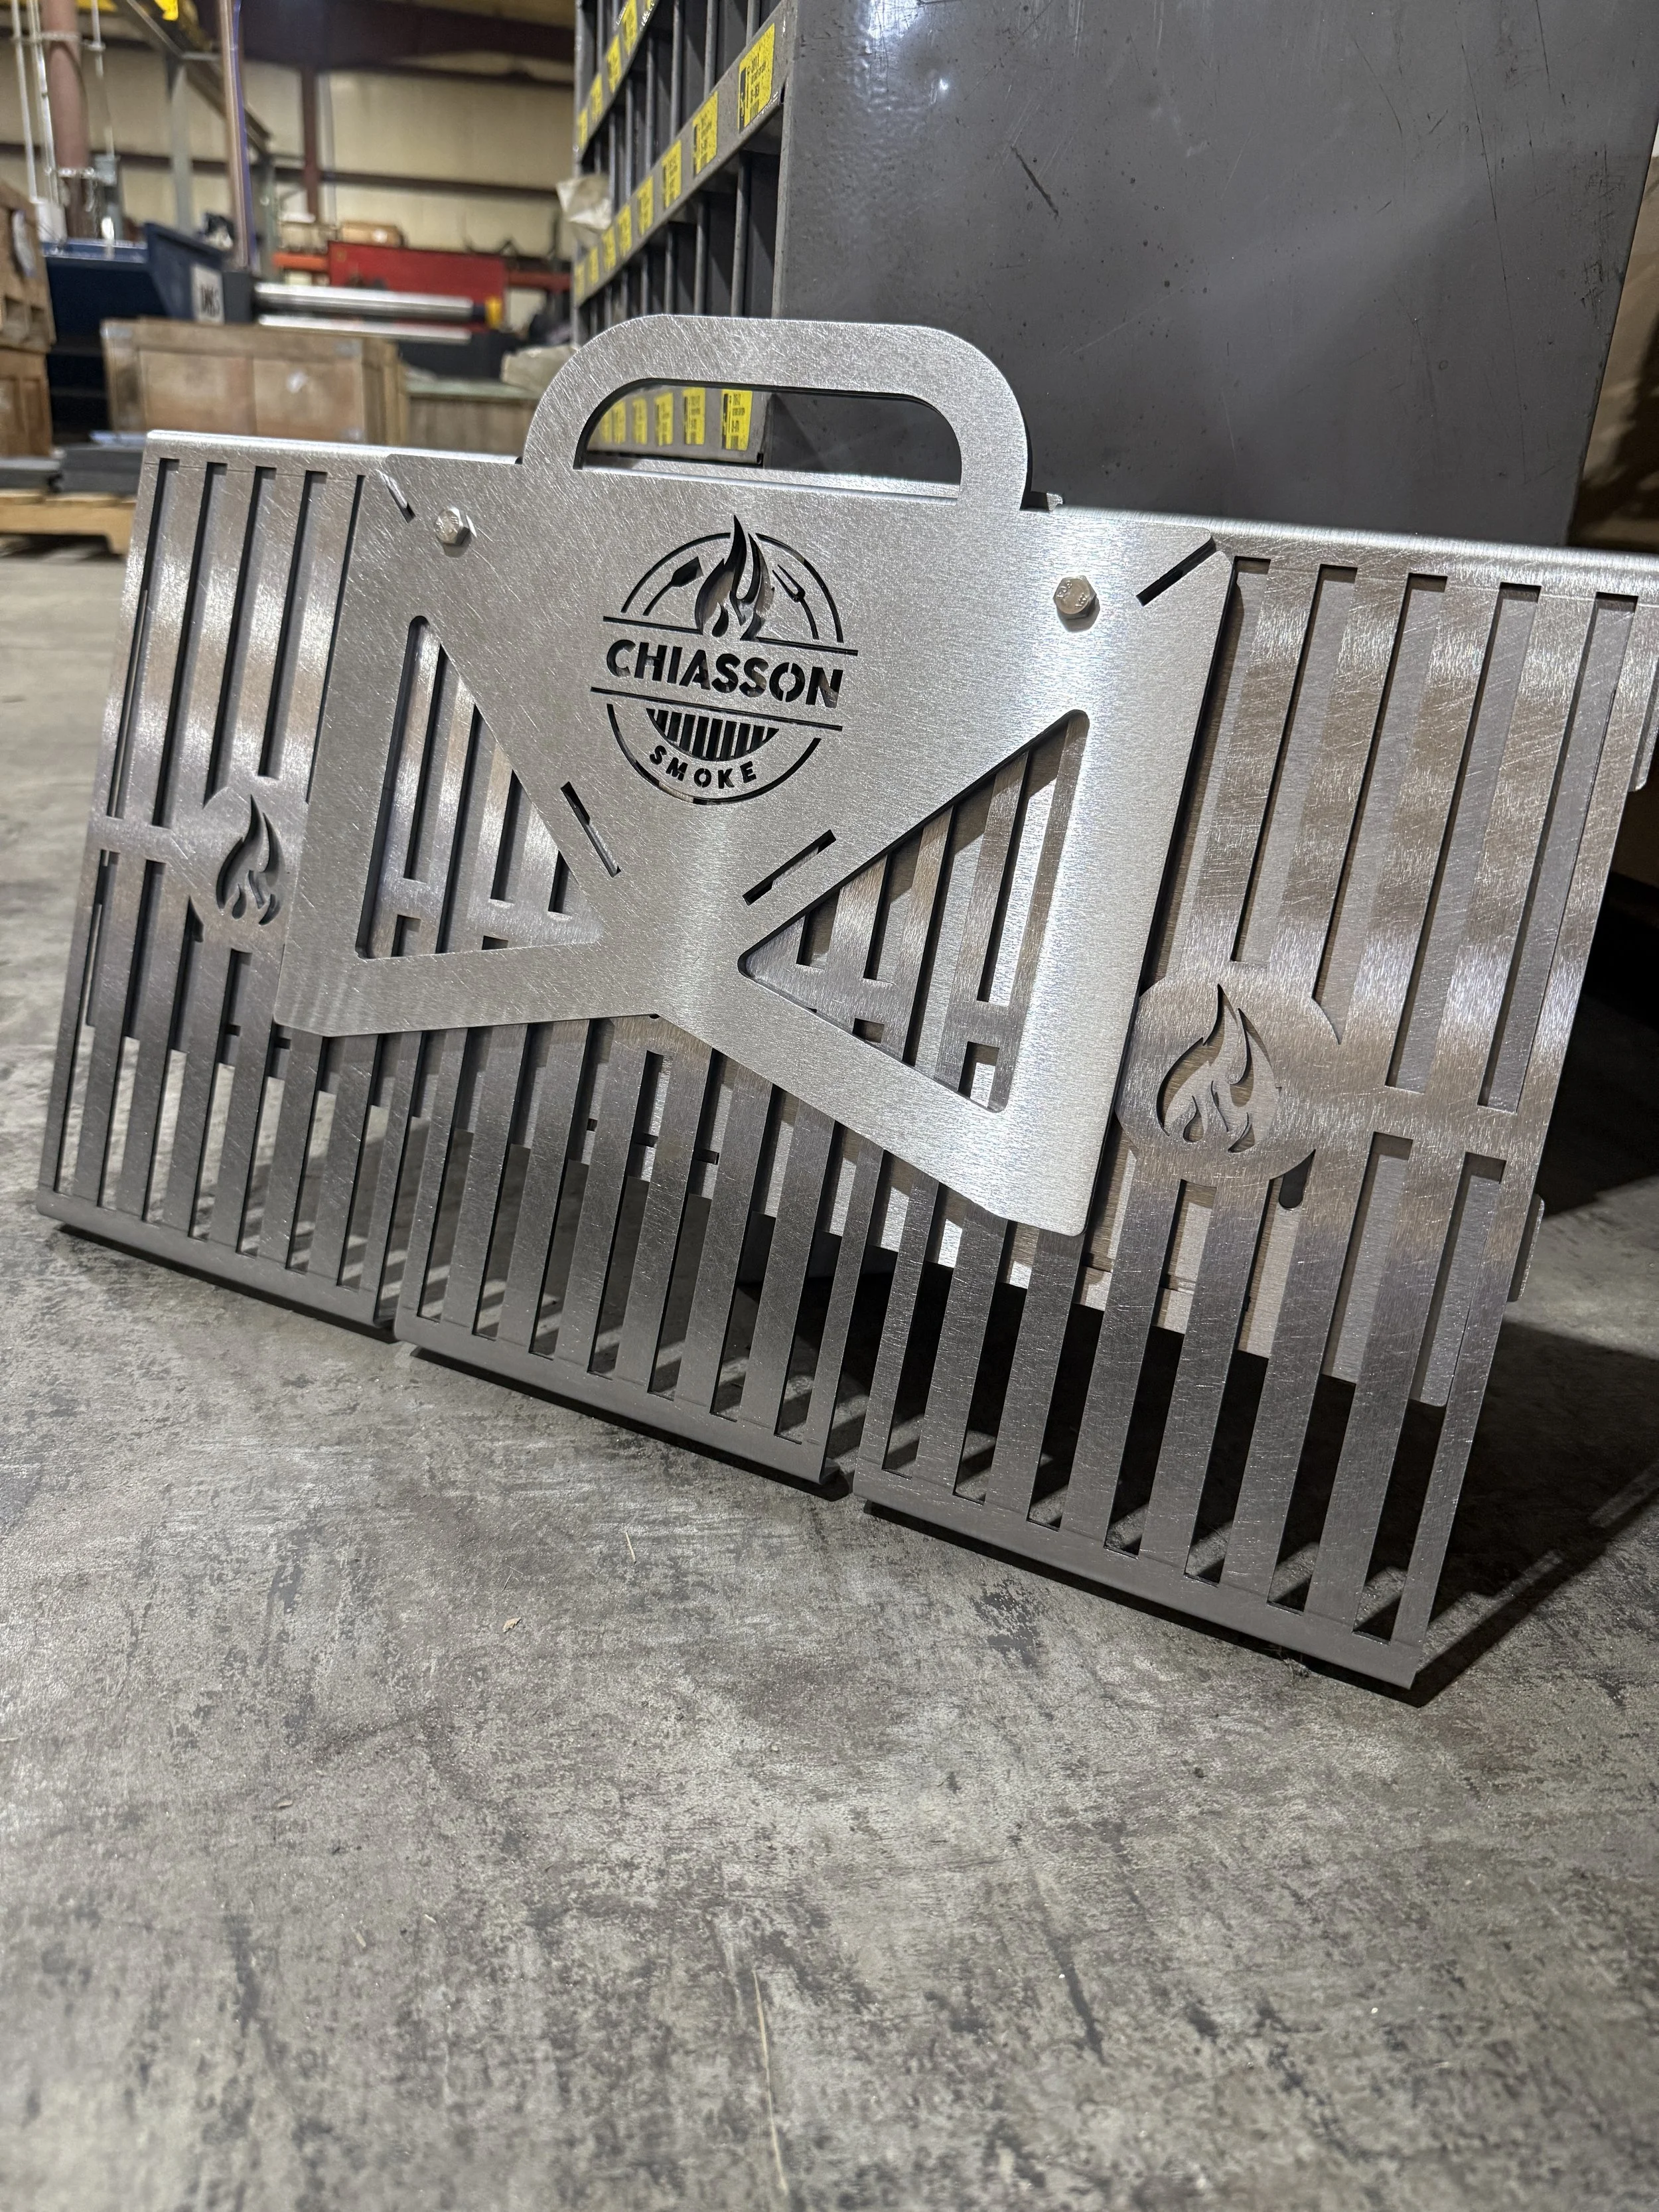 Image 9 of 10
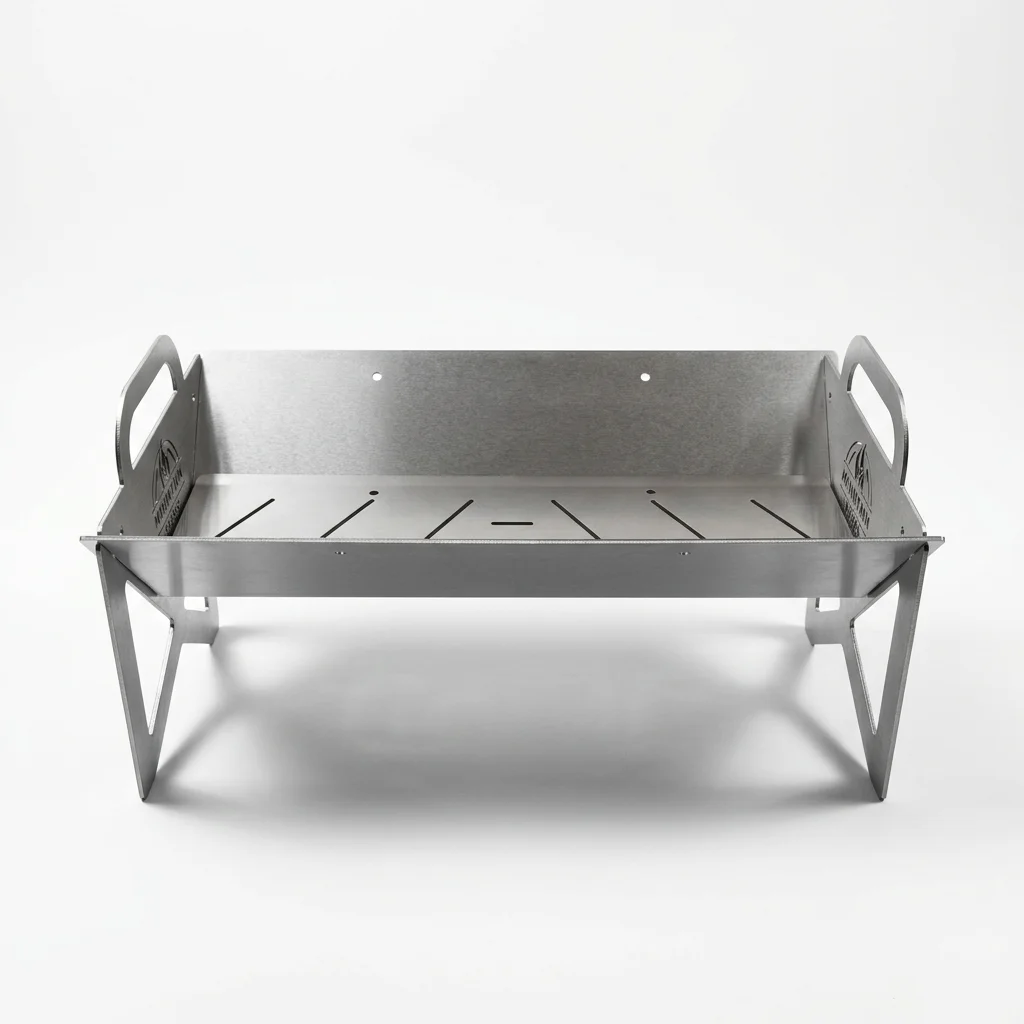 Image 10 of 10
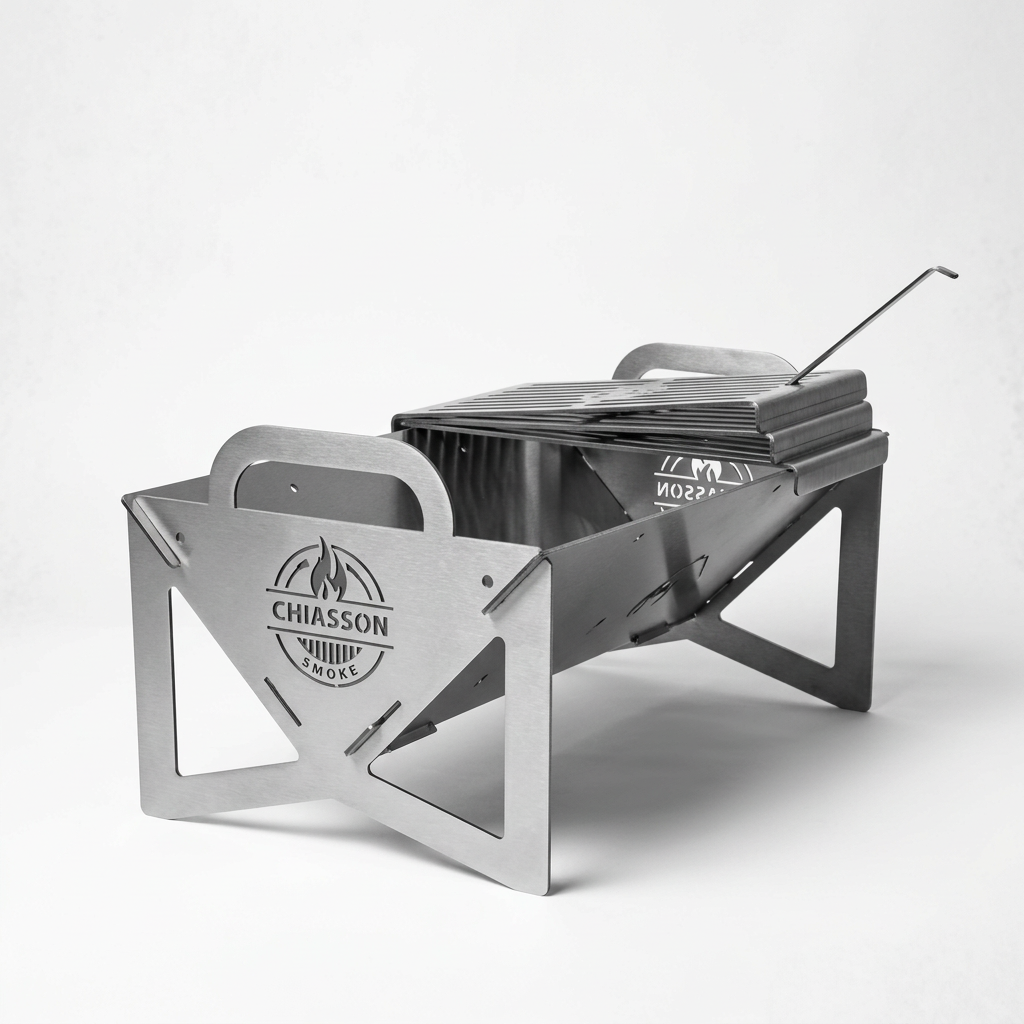
The Chiasson Smoke Hauler Grill
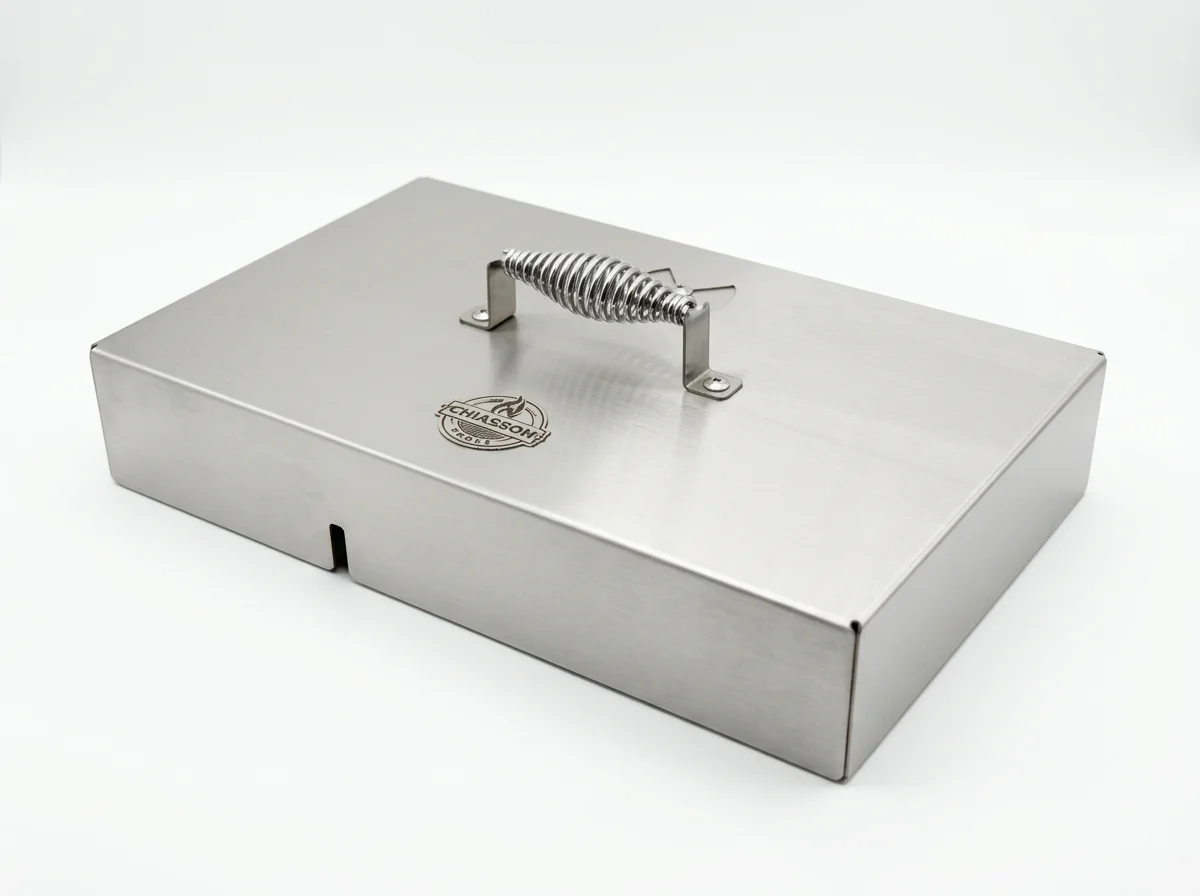
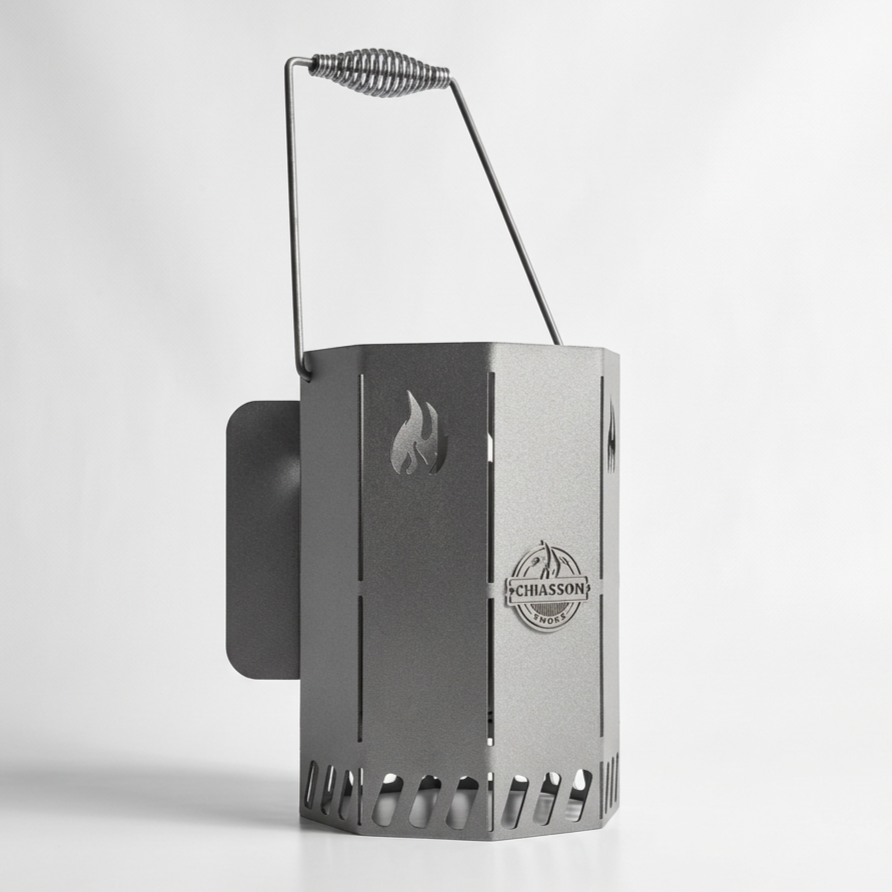
Ships Free to the lower 48 within 1-2 weeks.
Materials & Build
Body & Grates: 1/8" carbon steel
Griddle: 10-gauge carbon steel, no coatings or scale
Finish: Mill scale removed carbon steel (season like cast iron)
Dimensions
Length: 21"
Width: 12"
Height: 10"
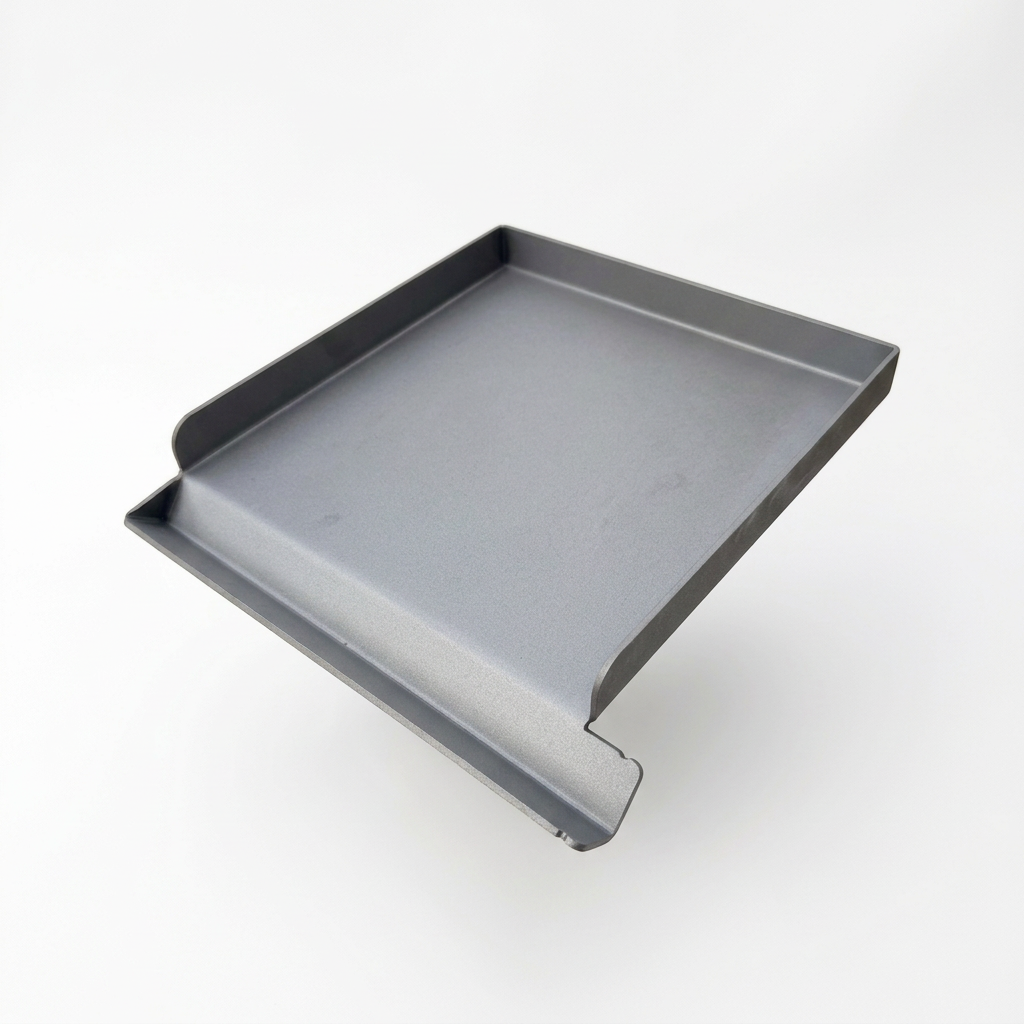
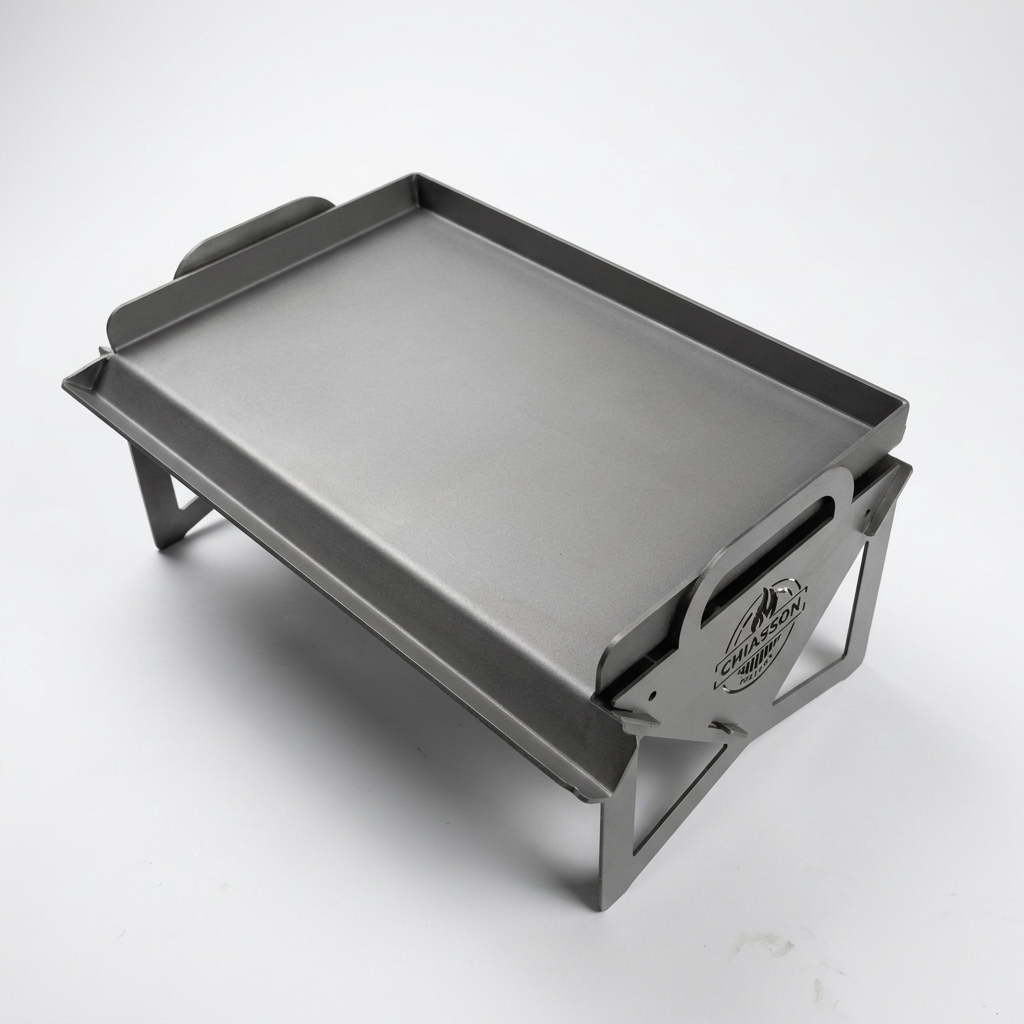
Optional Griddle Width: 12 inch (fits one grill grate next to it) or full-length griddle.
Weight: 25 pounds without griddle, 30 pounds with 12 griddle and 37 pounds with full length griddle
Packs flat for storage (Griddles do not attach)
NOTE: Griddle options (12” and full) include the 3 grill grates.
Versatility That Performs
3 Removable Formed Grates
Designed for strength, modularity, and high heat.Optional 12” Steel Griddle or Full Length Griddle with Drain
Cook anything from bacon and eggs to seared steak. Drain keeps cleanup easy. These griddles are sandblasted and ready for seasoning!Formed Bottle opener/grate remover
Includes our upgraded multi-purpose tool, perfect for removing your grates, cleaning your grill grates, and popping open a cold one!The 304 Stainless Steel Charcoal Insert
Raises charcoal closer to the cooking surface, allowing for less charcoal use, more even heat, and easier cleanup.
Still deciding which setup suits you?
Browse our portable grill collection to compare the Hauler, Mini Hauler, and other outdoor cooking options.
How to season your Hauler Grill
Jason walks you through putting your Hauler Grill together and seasoning it before your first cook.
Here’s how we recommend getting started:
1. Wash your grill and dry it completely.
2. Apply a very thin coat of oil with a high smoke point, like avocado or grapeseed oil. You can also use our Chiasson Smoke Carbon Steel Seasoning and Conditioner.
3. Heat it at 450°F for one hour in your oven. You could also do it on an outdoor grill, or smoker.
4. Let it cool before adding another thin coat. We recommend repeating the process two to three times.
Seasoning builds a protective layer that helps protect the steel. The color will change as you season and cook on it.
After each cook, clean it, dry it, and apply a light coat of oil so it’s ready for next time.
-
The standard Hauler Grill includes the grill body and three cooking grates. You can also add a 12 inch griddle or full size griddle to give yourself even more cooking options.
-
No. The Hauler is designed to quickly fit together without tools, making it easy to set up when you’re ready to cook and take apart when it’s time to pack up.
-
Pretty much anything you would normally throw on the grill! Burgers, brats, steaks, chicken, vegetables and more can be cooked on the grates. Add a griddle and you can make breakfast, smash burgers, grilled sandwiches and plenty more.
-
Yes. Before your first cook, we recommend seasoning your grill. Seasoning helps protect the carbon steel and creates a better cooking surface. We also recommend applying a light coat of oil after cleaning and before storing your grill.
-
The Hauler is designed for charcoal, giving you a simple cooking setup without needing propane or electricity.
-
⚠️ Warning: Potential Pinch Hazard When Collapsed
When the Hauler Grill is collapsed for storage or transport, use caution when setting it down on a hard surface. The center grate may shift upward into the handle area, creating a potential pinch point.
To help prevent injury:
• Set the packed grill down gently.
• Keep hands and fingers clear of the handle area when setting it down.
• Before lifting or moving the grill, make sure the grate is properly positioned and all bolts and wing nuts are securely tightened.Always use caution when handling your Hauler Grill and keep fingers clear of potential pinch points.
Frequently Asked Questions
How to pack your grill flat.
With just a few simple steps, the Hauler Grill packs flat.
Step 1: Line Up Your End Plates
Take the two end plates with the Chiasson Smoke logo and line them up. Insert two bolts through the holes, then lay the plates flat on your work surface with the bolts facing up.
Step 2: Stack Your Grill Grates
Place your three cooking grates between the end plates. Two of the grates will slide onto the bolts using their slots. The third grate will rest loosely in the middle.
Step 3: Add Your Side Plates
Slide one long side plate over the bolts, followed by the second side plate. Make sure everything is lined up and sitting flat.
Step 4: Secure the Middle Grate
Place your Hauler Grill grate tool/bottle opener over the bolts. This will lock the middle grate in place and keeps it from shifting.
Step 5: Tighten the Wing Nuts
Thread the wing nuts onto the bolts and tighten them securely by hand to hold everything together.
Step 6: You're Ready to Go!
Your Hauler Grill is now packed flat and ready to store or take on your next adventure.
Safety Reminder: Always make sure the wing nuts are secure and keep your fingers clear of the handle area when setting the packed grill down to avoid pinching. If your grill was purchased before October 15 2026, you received an older version of the grate tool and your middle grate does not lock into place. Use caution when transporting your grill.